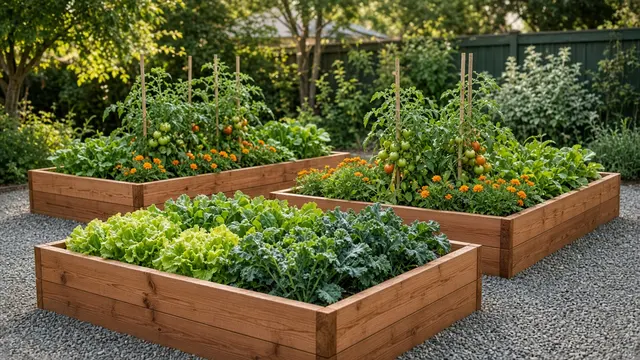
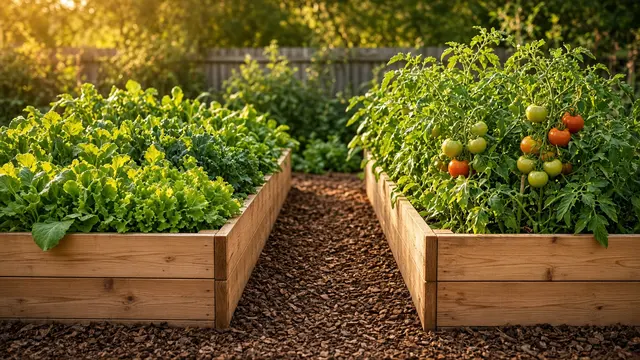
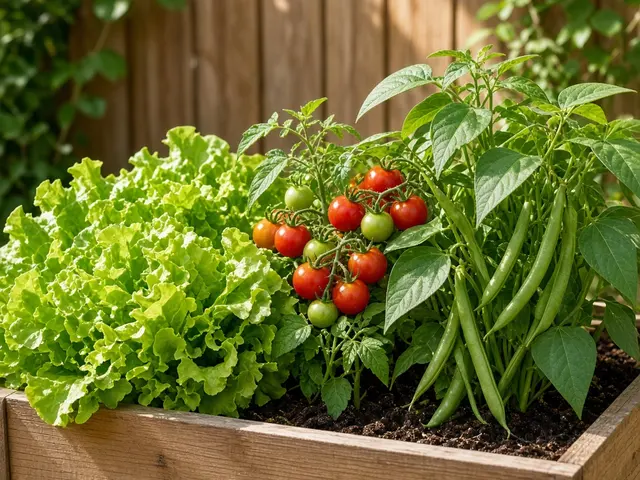
Raised Bed Gardening for Beginners: A Complete Guide
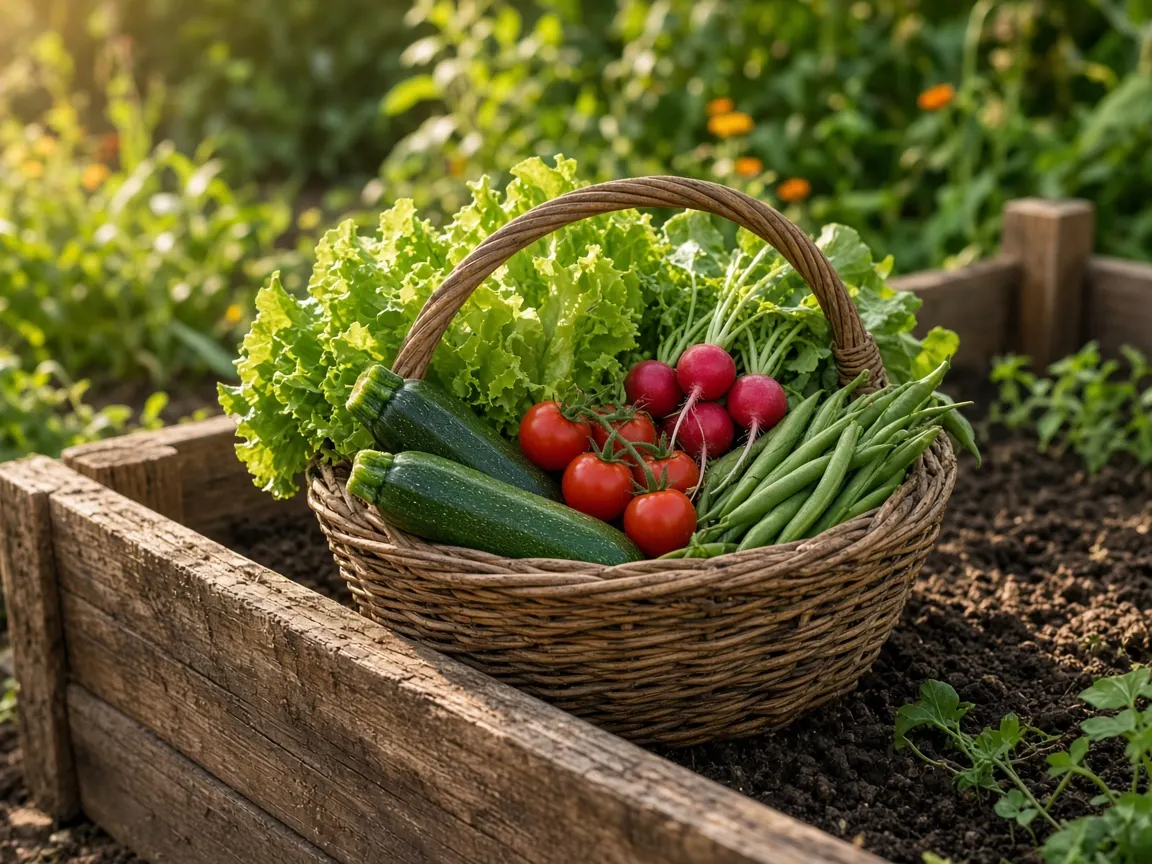
A raised bed is simply a block of improved soil that sits above the surrounding ground, usually held in place by a wooden, metal or masonry frame. For a beginner, it solves three common problems at once: poor native soil, slow spring drainage and the difficulty of knowing where the garden ends and the lawn begins. This guide walks through the whole first season, from picking a spot to your first harvest.
Key takeaways
- Choose the sunniest level spot you have; most fruiting vegetables want at least 6 to 8 hours of direct sun.
- Keep beds no wider than about 4 feet so you can reach the center without stepping on the soil.
- Most annual vegetables do well with 12 to 18 inches of good soil; root crops appreciate more.
- Planting dates depend on your local frost dates, not on a national calendar. Your state's Cooperative Extension service is the best local reference.
Why gardeners choose raised beds
Raised beds warm up and drain faster in spring than flat ground, which can help in regions with heavy clay or wet springs. Because you never walk on the growing area, the soil stays loose. You also decide exactly what goes into the bed, which matters if your yard has compacted fill dirt, heavy clay or soil you are unsure about.
There are trade-offs. Raised beds cost money to build and fill, and they dry out faster in summer heat, so they usually need more frequent watering than an in-ground garden. In hot, dry parts of the West and Southwest, some gardeners build lower beds or even sunken beds for that reason.
Step 1: Pick the right location
Sun is the single biggest factor. Watch the spot across a full day before you build: note when buildings, fences and trees cast shade. Also look for level ground, good drainage after rain, and a water source within easy hose reach. Our guide to choosing the best location for a raised bed covers each of these in detail.
Step 2: Decide on size
A width of 3 to 4 feet lets most adults reach the middle from either side. Length can be whatever fits your space and budget; 8 feet is common because lumber is sold in that length. Leave at least 18 inches for paths, and closer to 3 feet if you want to roll a wheelbarrow between beds. See raised garden bed dimensions explained for depth guidance by crop.
Step 3: Choose a frame material
Naturally rot-resistant wood such as cedar is popular. Untreated pine is inexpensive but breaks down within a few years. Modern residential pressure-treated lumber, galvanized metal, concrete block and stone are other options. Avoid old railroad ties and lumber treated with older preservatives. We compare them in choosing safe and durable raised bed materials.
Step 4: Fill the bed with good soil
Do not fill a raised bed with straight bagged compost or straight native soil. A common Extension starting point is a blend of quality topsoil and compost, sometimes with a soilless mix added for lightness. Measure your bed and use our raised bed soil calculator to estimate how much to buy, then read understanding soil mixes for raised beds before you order.
If the bed sits on lawn, you can lay cardboard over the grass to smother it before filling. Remove tape and staples first.
Step 5: Plan what to plant and when
Start with forgiving crops: leaf lettuce, radishes, bush beans, zucchini, cherry tomatoes and herbs are good first choices. Our list of beginner-friendly vegetables for raised beds groups them by season.
Timing is local. Cool-season crops can go in before your last spring frost, while warm-season crops such as tomatoes, peppers and squash should wait until frost danger has passed and the soil has warmed. Look up your average frost dates through your state's land-grant university Extension service; the Extension directory lists every state office.
Step 6: Water, mulch and observe
New seeds and transplants need consistent moisture. Once plants are established, water deeply and less often so roots grow down. Check soil a few inches below the surface with your finger before watering. A layer of organic mulch such as straw or shredded leaves slows evaporation and suppresses weeds. See watering raised beds properly and using mulch in vegetable gardens.
Walk through your garden every few days. Catching a few aphids or a single hornworm early is far easier than dealing with an established problem later.
Step 7: Keep a simple garden record
Write down what you planted, the date, the variety and how it performed. After one season you will have notes specific to your yard, which are more useful than any general calendar.
A realistic first-season checklist
- Observe sun and shade for a full day.
- Build one bed rather than several; expand next year.
- Fill with a tested or reputable soil blend.
- Plant a mix of cool-season and warm-season crops at the right local times.
- Water consistently and mulch once the soil has warmed.
- Record what worked and what did not.
Frequently asked questions
Do I need to put anything on the bottom of a raised bed?
On open ground, most beds are left open at the bottom so roots can reach the soil below. Cardboard can smother grass. Hardware cloth is sometimes used where burrowing animals such as gophers are a known problem. On pavement, beds need to be deep enough for the crop and must drain freely.
When is the best time to build a raised bed?
Fall and late winter are convenient because the bed can settle before spring planting, but a bed built in spring can be planted right away.
Will a raised bed guarantee a bigger harvest?
No. Raised beds make good soil and drainage easier to achieve, but harvests still depend on sun, weather, timing, variety and care.
Sources and further reading
- Starting Raised Beds - UConn Home & Garden Education Center
- Building Raised Beds - UF/IFAS Gardening Solutions
- Raised Bed Checklist (PDF) - University of Illinois Extension
- Growing Vegetables in Raised Beds - University of Maryland Extension
- Find Cooperative Extension in Your State - Extension Foundation
Gardening conditions vary by location. For recommendations specific to your area, contact your state's land-grant university Cooperative Extension office. Read our editorial policy.